| FIRST OF ALL, BACK UP IMPORTANT DATA BEFORE YOU USE CLONEZILLA LIVE TO DO ANYTHING.
In this example, the machine has 1 disk (8 GB), we want to clone it to an external disk (20 GB). This is a normal case when you buy a new disk to replace old disk on your machine. Here since we use virtual machine to give this example, we use small disk size, i.e. 8 GB to 20 GB instead of modern disk size.
|
|
|
|
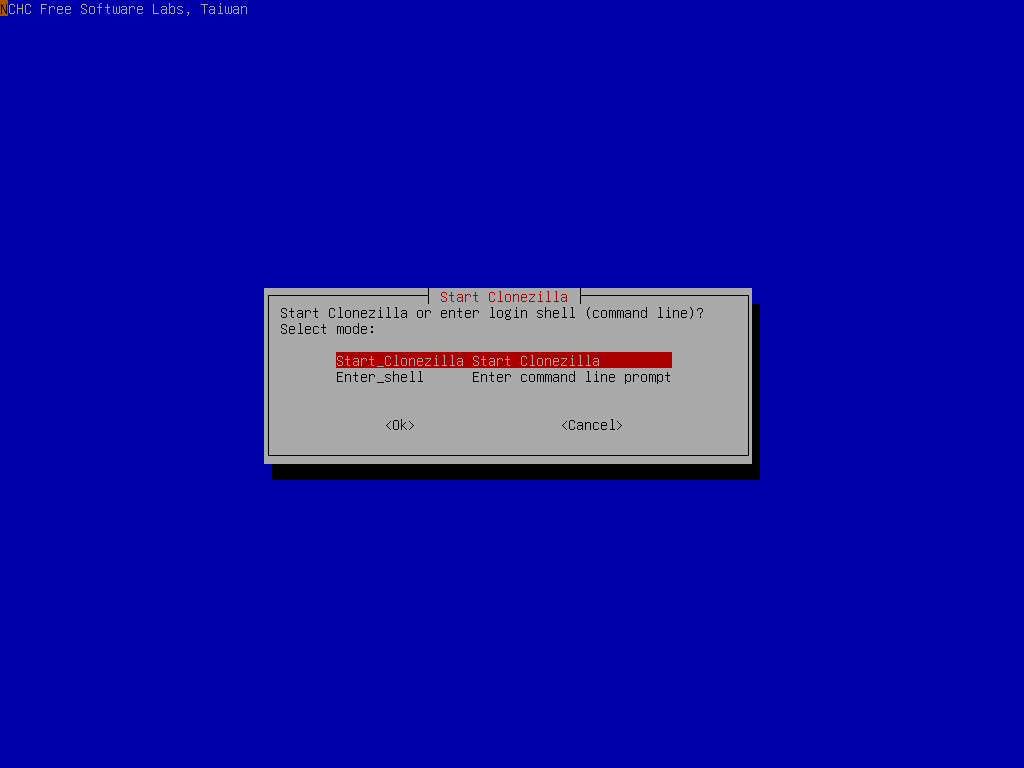
In the boot menu, we choose “Other modes of Clonezilla live” Then choose “Clonezilla live (To RAM. Boot media can be removed later)” Then choose “Clonezilla live (To RAM. Boot media can be removed later)” By doing this, all the Clonezilla live file on the new hard drive will be copied to RAM. Therefore the partition of new hard drive can be released, i.e. it won’t be busy and locked by running programs. By doing this, all the Clonezilla live file on the new hard drive will be copied to RAM. Therefore the partition of new hard drive can be released, i.e. it won’t be busy and locked by running programs.Press Enter, you will see Debian Linux booting process, and it will spend a few minutes when copying the files to RAM: 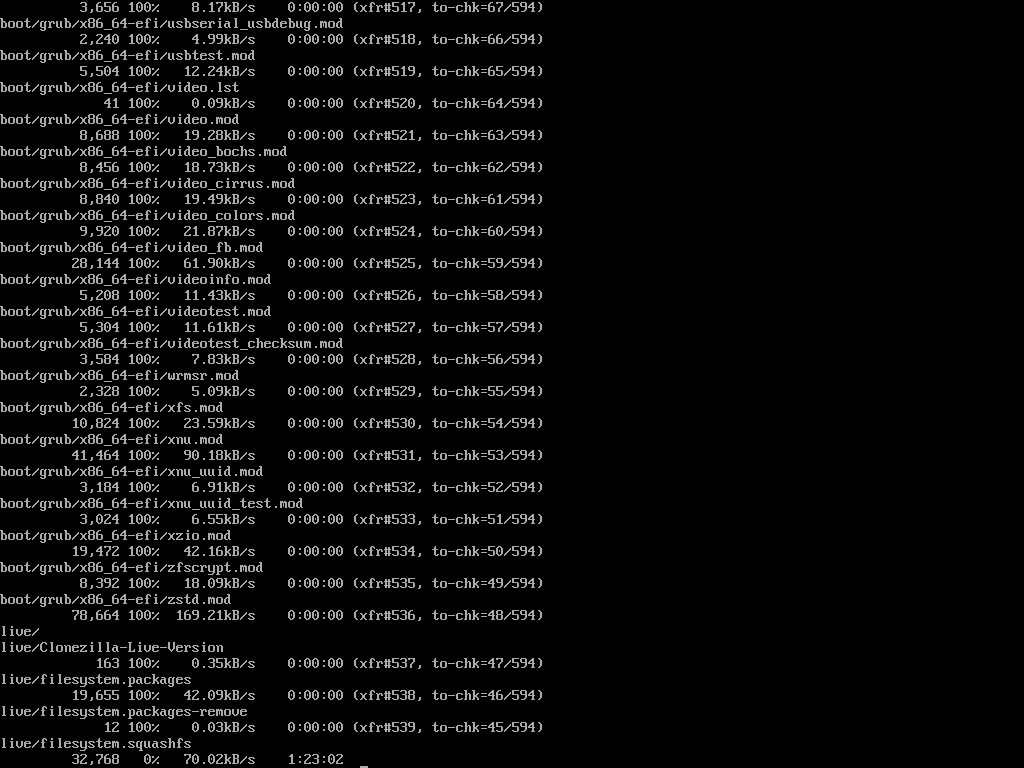 |
|
 |
|
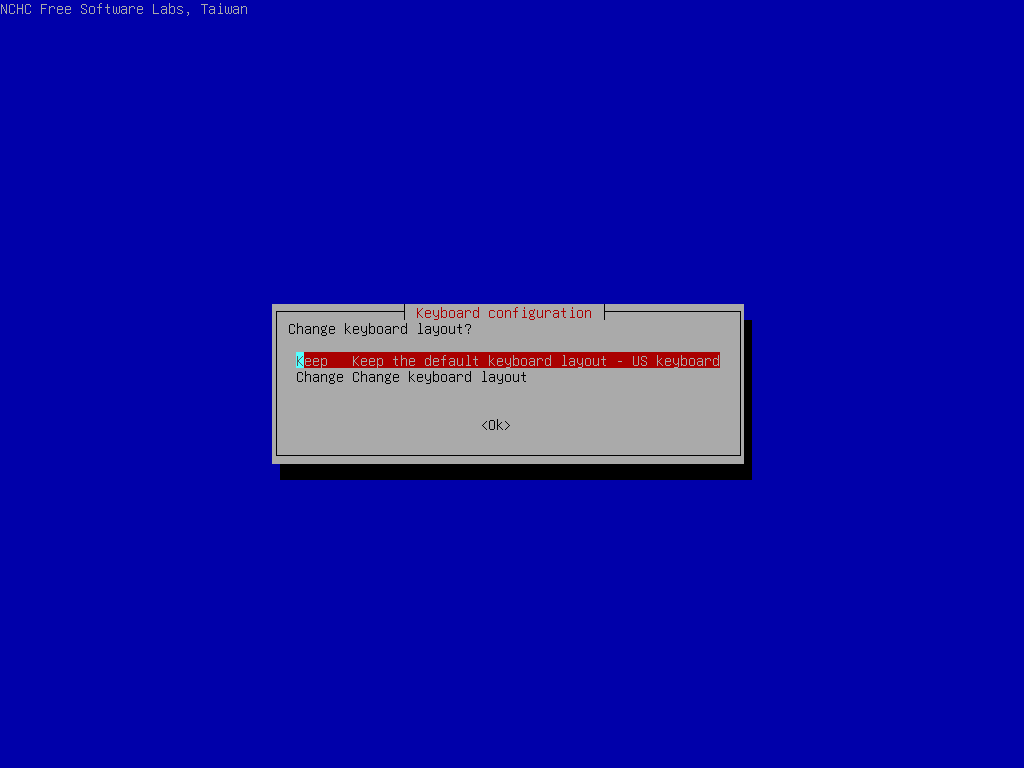
The default keyboard layout is US keybaord, therefore if you are using US keyboard, just press enter (i.e. use the option “Don’t touch keymap”). |
|
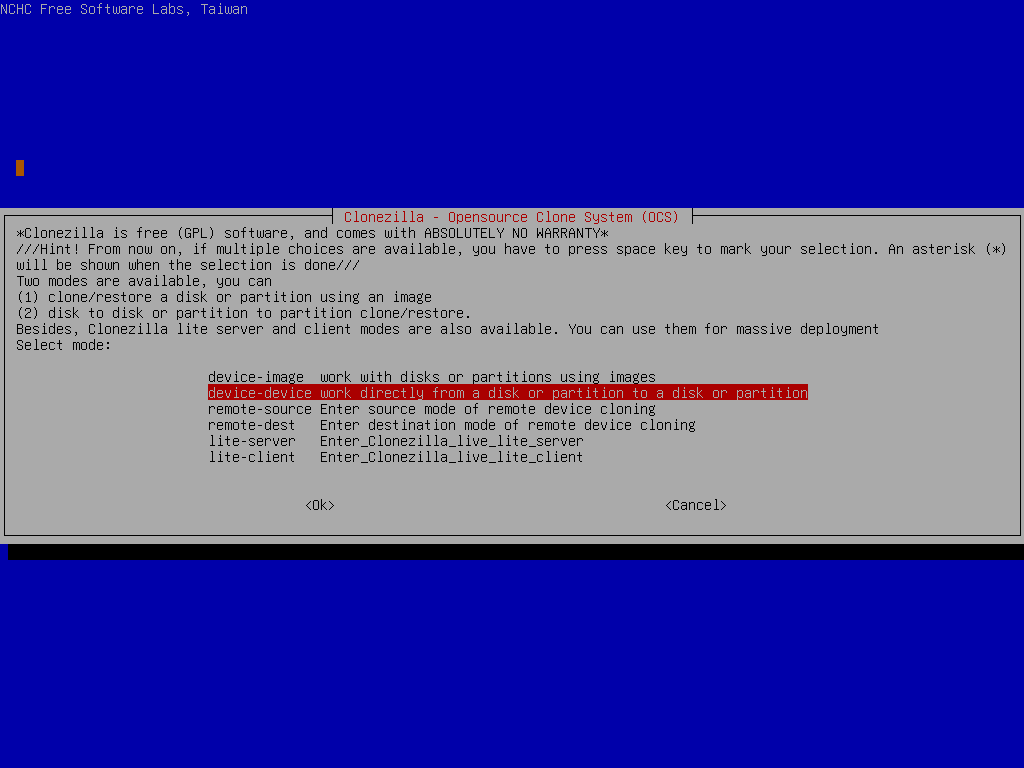
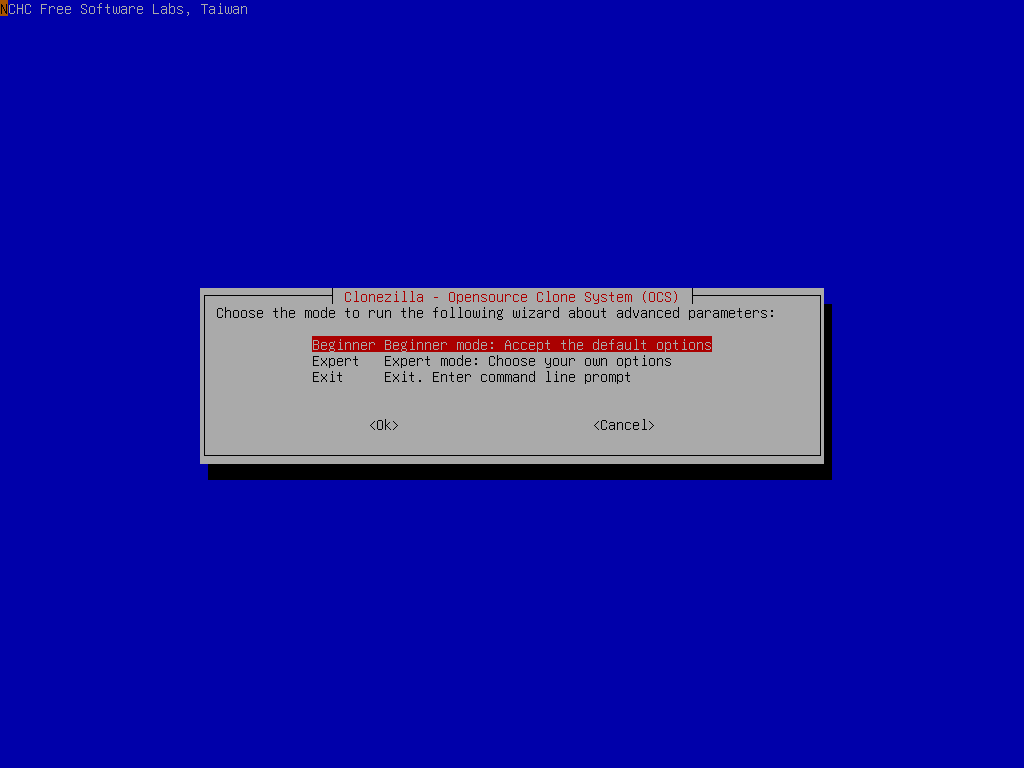
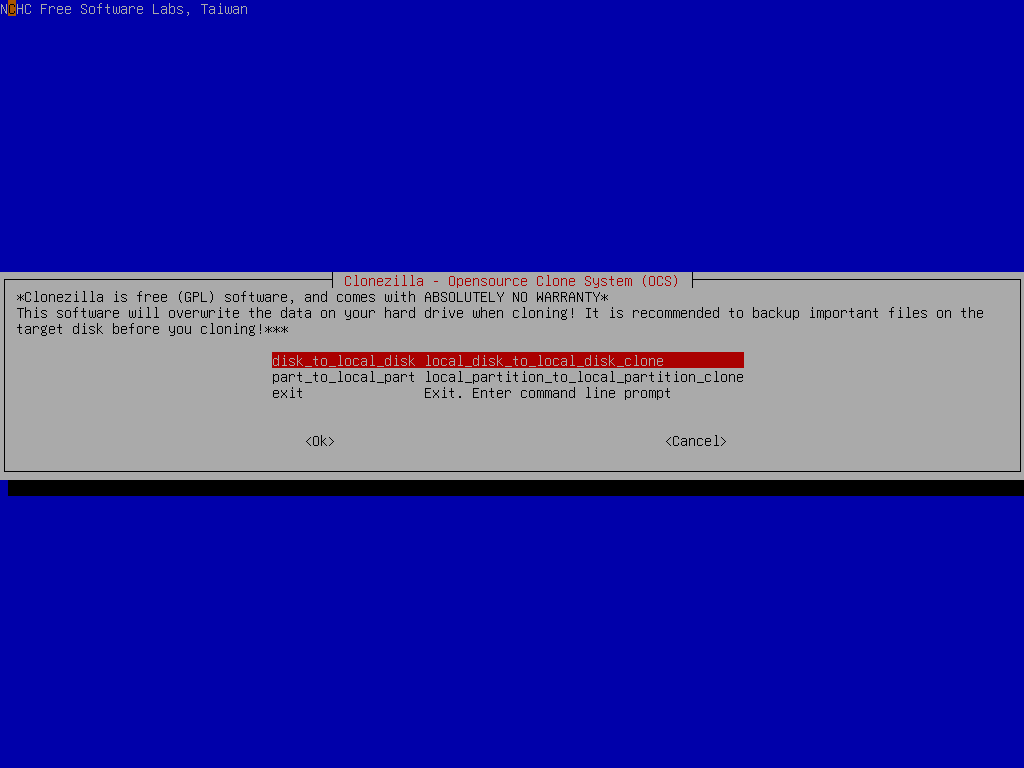
Choose “device-device” Choose “Beginner” If you choose “Expert” mode, you will have some chances to choose advanced parameters, e.g. tune the CHS values of target disk, how to create partition table on the target disk, etc.. You can see more details here. ///NOTE/// By deafult, Clonezilla will clone the “same” size of source disk to target disk. i.e. in this example, only 8 GB will be cloned to target disk, so the rest of 12 GB on the destination disk will be unallocated. If you want to make use all of the target disk size, remember to enter “Expert” mode and choose option “-k1”. |
|
 |
|
| Here the source disk is sda, which is 8 GB in size”. ///WARNING/// Be careful! Do not choose the wrong disk. Since all the data on the target disk will be overwritten!!! 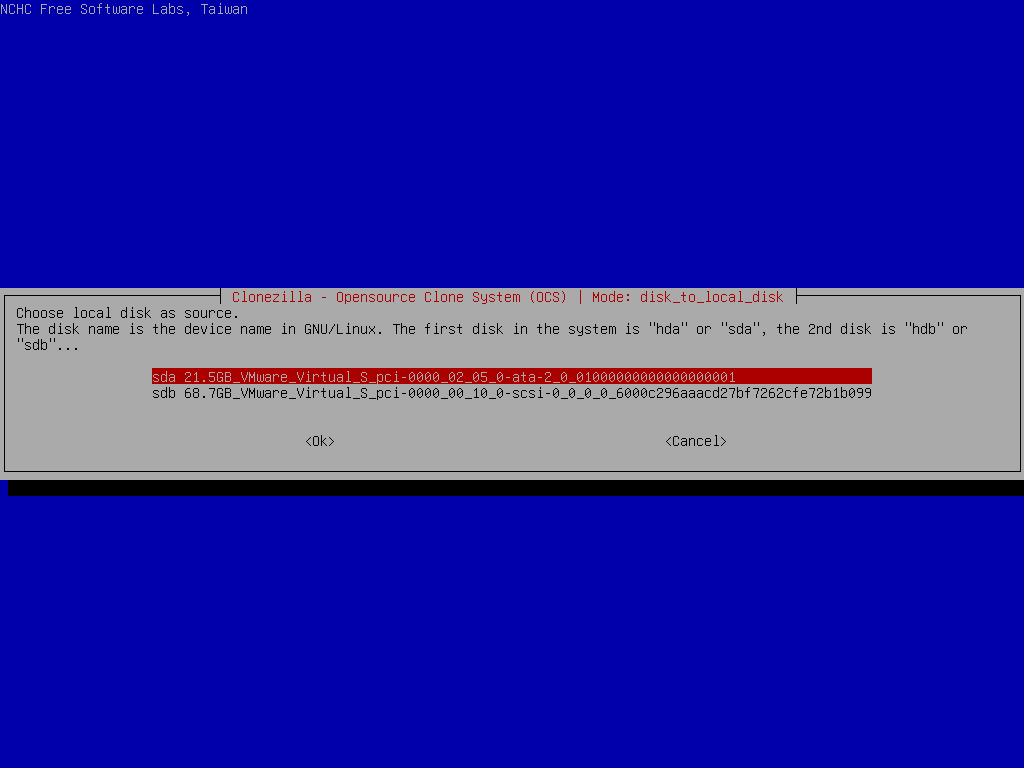 |
|
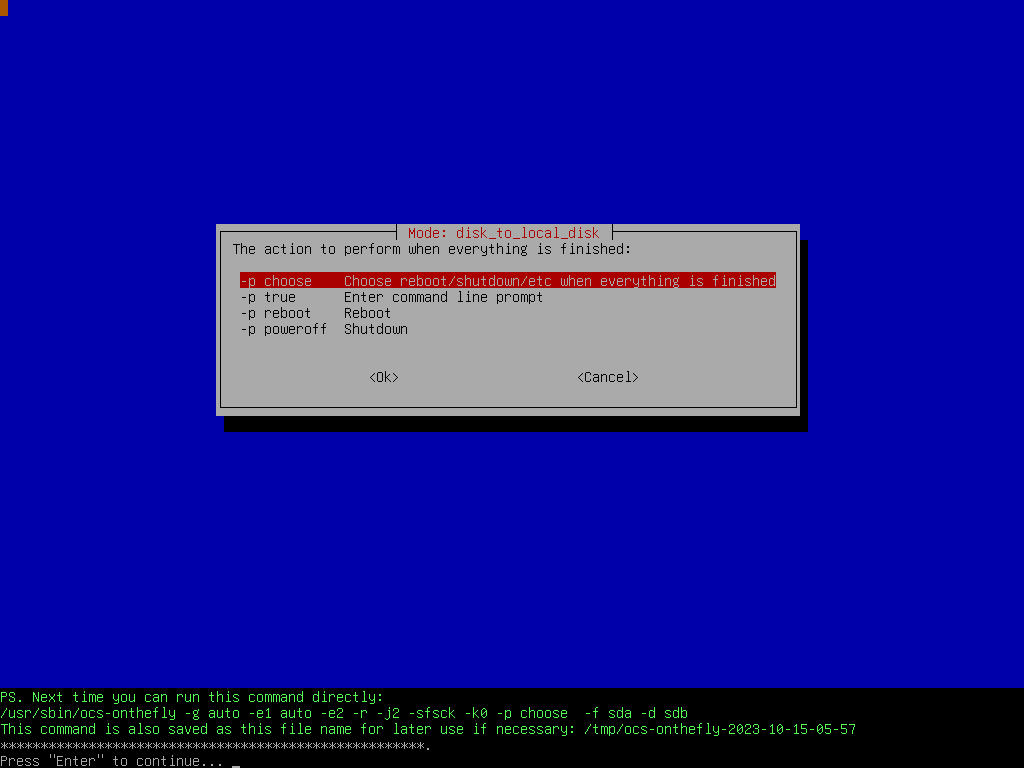
| Here the target disk is sdb, which is 20 GB in size” ///WARNING/// Be careful! Do not choose the wrong disk. Since all the data on the target disk will be overwritten!!! 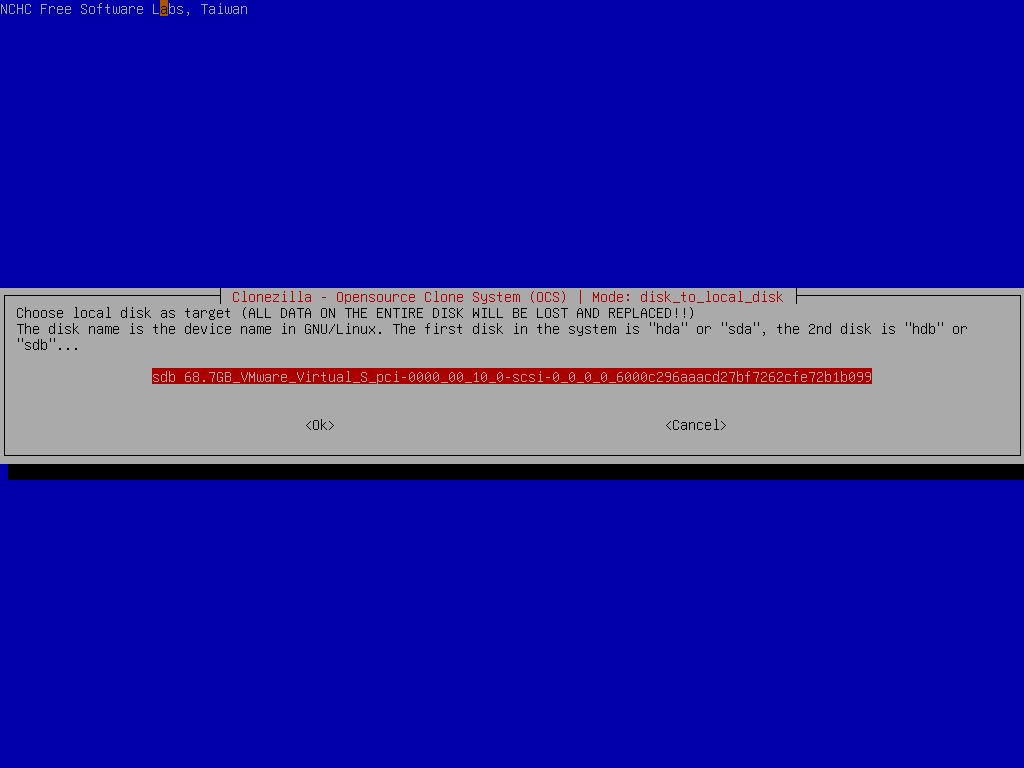 Select if the source file system need to be checked or not: Select if the source file system need to be checked or not: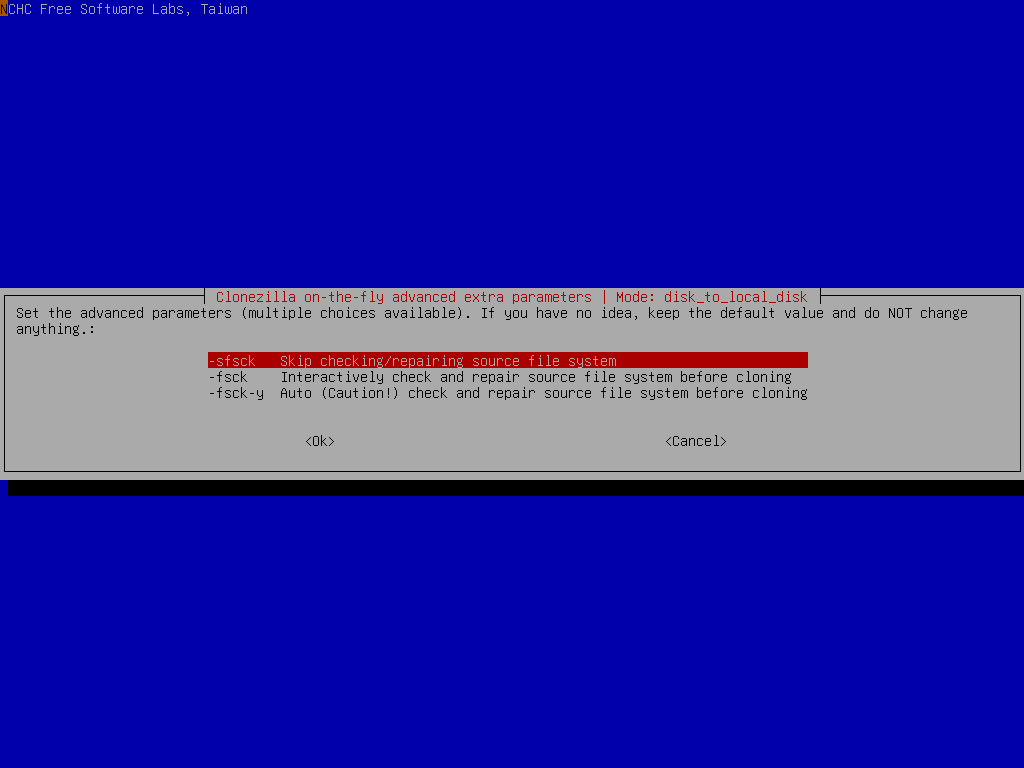 Select the mode you want after the disk cloning is done: Select the mode you want after the disk cloning is done:
By default we will choose later, but if you have decided, you can choose to reboot or poweroff the machine. Clonezilla shows you the complete command to run this disk to disk clone action: |
|
Before doing the real cloning, Clonezilla will ask confirmation: Ask confirmation agin: Ask confirmation agin: First ask confirmation about cloning boot loader to target disk: First ask confirmation about cloning boot loader to target disk:
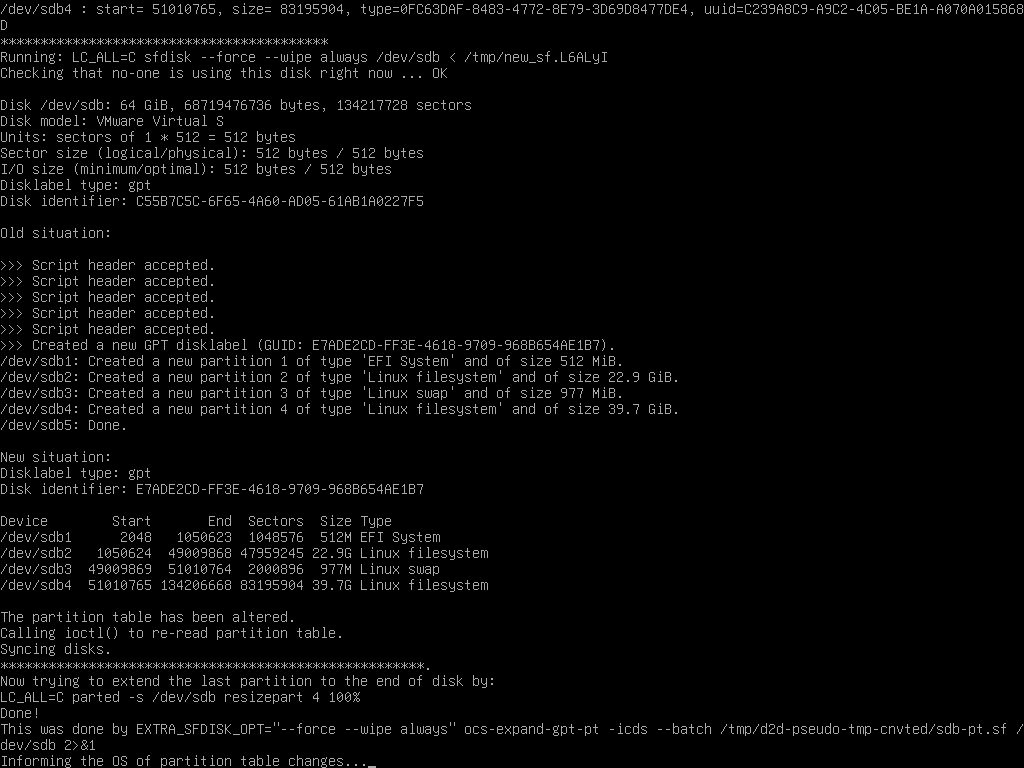
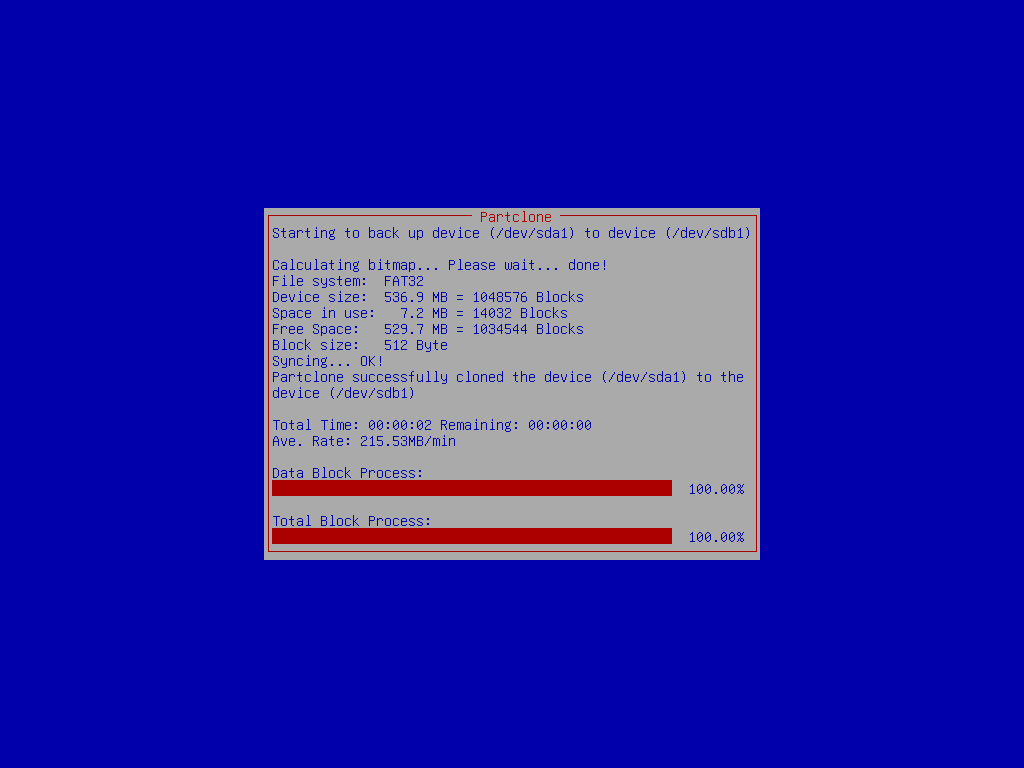
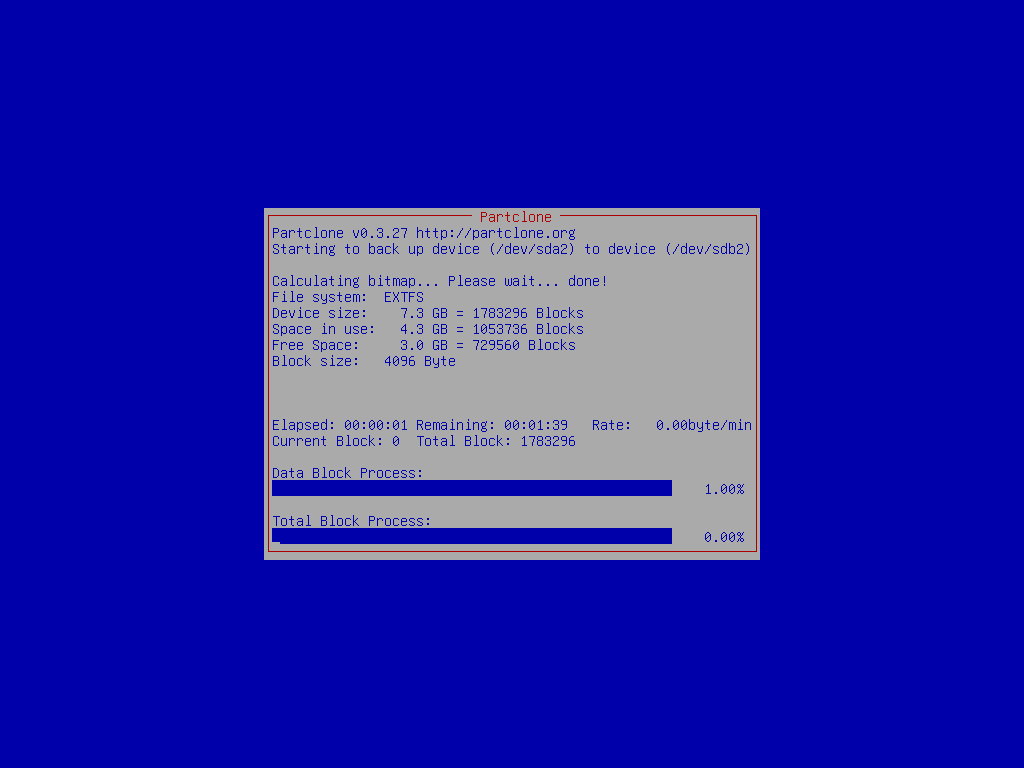
Then it will create partition table on the destination disk: Clonezilla is cloning the data from source disk to target disk:
|
|
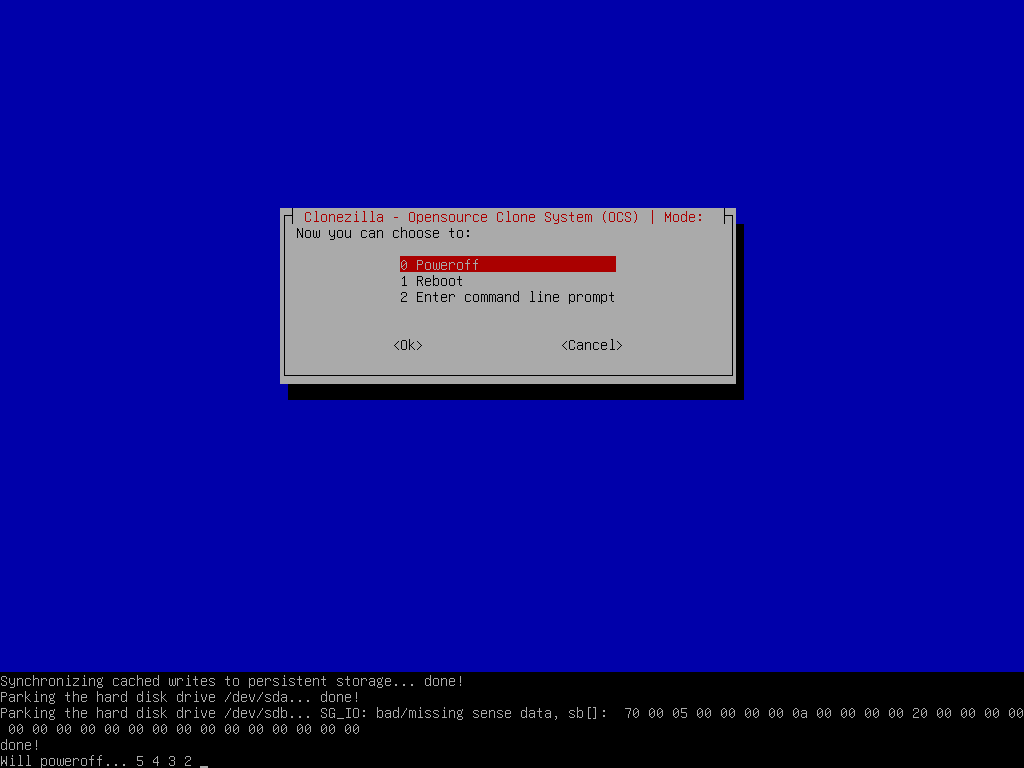
When everything is done, Clonezilla will prompt you if about reboot, poweroff, etc. 
Then we choose poweroff: and the machine will be halted: That’s all. The new hard drive is ready to be used. You can remove the old (8 GB) disk from your machine, and put the new one (20 GB) in your machine. Boot it, you can enjoy the new disk. |
|