Apple began phasing in the use of its SSD-friendly APFS file system with High Sierra for SSD-only Macs, and then upgraded Fusion Drive-based Macs in Mojave. In Big Sur, Time Machine volumes can finally be formatted with APFS, too. But in this transition, one capability was quietly lost: APFS volumes cannot be shared for network access via Apple’s relatively ancient Apple Filing Protocol (AFP).
AFP dates to the pre-OS X days, with a version appearing in System 6 in the late 1980s. As with most older protocols, it got long in the tooth, and Apple went from just supporting the Windows and Linux world’s SMB to shifting to it as the only built-in sharing method. Way back in OS X 10.9 Mavericks, Apple began moving away from AFP in favor of the industry-standard SMB, although it still hasn’t removed support.
In Big Sur, Apple dropped the ability to share volumes via AFP entirely, but even though Catalina retained AFP-sharing support, as noted above, APFS-formatted volumes could not be shared over AFP. macOS Sierra though Catalina “fails silently” in this method, letting you turn on AFP in the Sharing preference pane’s File Sharing section, even if there are no volumes that AFP can share. (Big Sur can still mount AFP-shared volumes.)

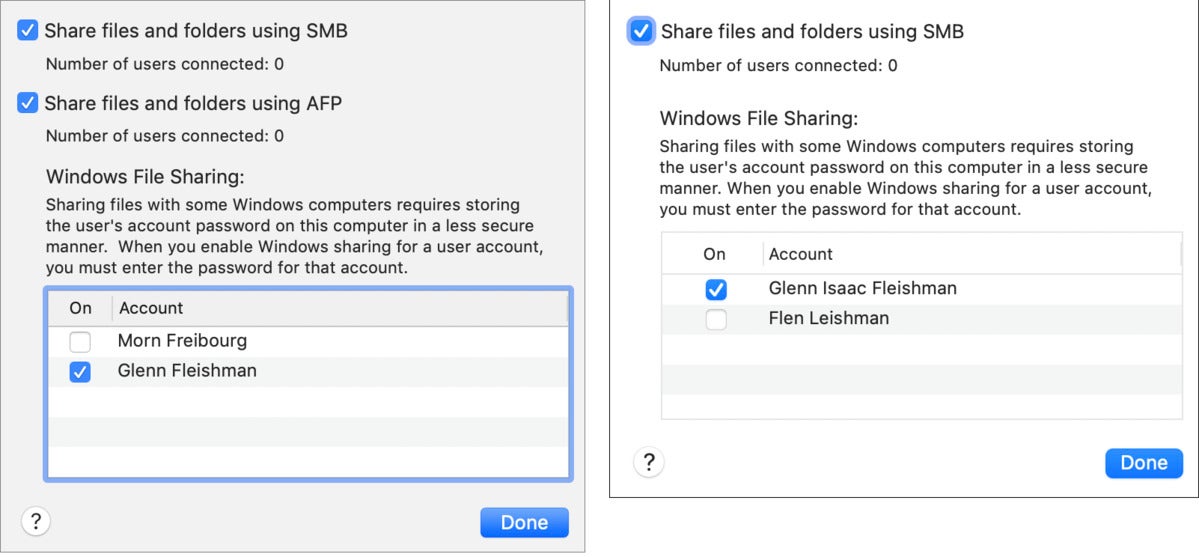
I suggest disabling AFP sharing on any Mac running Catalina or earlier versions that you no longer have HFS+ drives mounted or plan to mount in the future:
- Open the Sharing preference pane.
- Click the File Sharing item at left.
- Click the Options button.
- If you see an option for AFP, uncheck it. Check “Share filse and folders using SMB” if it isn’t selected.
- Click Done.
The only reason this typically matters, however, is on other Macs. When you have a stored alias on one Mac that points to another, and which was a connection originally made over AFP. The alias will still try to work if the other computer is sharing via AFP, even if the volume is no longer shared over AFP.
The solution?
- Delete your alias.
- In the Finder, choose Go > Network.
- Double-click the computer you want to share from.
- Enter login information for that Mac if prompted. (If may be stored in your Keychain and the login handled silently.)
- Double-click the volume you want to link to.
- Select the volume. See below for methods.
- Choose File > Make Alias or hold down Command and Option while dragging to create an alias.
You can select the volume in step 6 in one of several ways:
- In the Locations section of the sidebar, click the remote Mac, then in the resulting Finder window, double-click the volume you want to make an alias from. Navigate up one level and proceed to step 7.
- In Finder > Preferences, make sure that in the General tab you have selected “Connected servers.” This will make any mounted drives appear on the Desktop, where you can select them in step 6 and proceed to step 7.
